A whimsical place to play, where paper and ink become one.

Wednesday, December 28, 2016

LDRS Creative ~ CandiBean's Spread a Smile of Joy

Happy Wednesday everyone! I am here sharing my latest card using this really fun CandiBean stamp named "Spread a Smile of Joy". You can view this and all LDRS Creative stamps & dies by heading over the the LDRS website. This stamp is perfect for the cold winter months.


I have used the following Copic Markers:

Skin: E000,E00,E11,E21, R20
Hair: E11,E13, E15
Clothing: B91,B93, B95, B97, BG15, BG18, B45, V04, V06, V09
Misc: C1, W3, W5, W6, YG05, YR68


I used the wonderful Fancy Rectangles and Layers Die Set to create these stitched frames around the colored image. I also used the Basic Cutting Edge Borders 1 Die Set to create the snow drifts. Finally for the sentiment I used the "Amazing Girls" set.


Be sure to check out all the amazing stamps, dies, and embossing folders in the LDRS Creative Store!!

Crafty Hugs,
Melanie

Wednesday, December 21, 2016

Quick Creations Magnolia Snowy Tilda With Gifts

Hello Crafty Friends,

I am sharing a design team card for Quick Creations today. They are having a huge sale going on right now so make sure not to miss it.

For my project today I have colored us Snowy Tilda with Gifts by Magnolia Stamps. Magnolia stamps was the very first stamps I purchased to learn Copic coloring with so they are near and dear to my heart.


I have used CC Design's Snowy Day paper collection along with trim and Stamped/punched snowflakes with added rhinestones. My coloring medium was Copic Markers and I added stippling all around her in cool greys to give a 'snowy feel' to the piece. Have an amazing day everyone & stay warm!


Tuesday, December 13, 2016

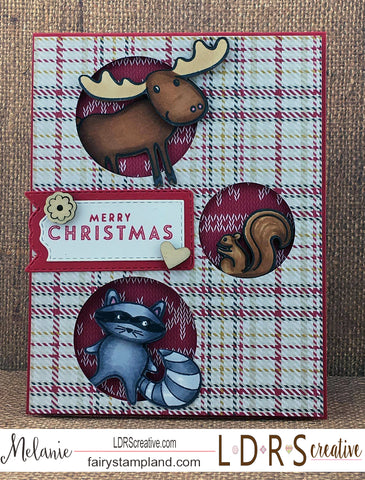
LDRS Creative North Woods

Welcome Back Friends,

I have had some "Fun Time" creating with the LDRS Creative "North Woods" Stamp Set. This adorable stamp set has an amazing coordinating "Gold" die set which gives you multiple ways to use this super creative set. 


For my card I actually chose to stamp out the images twice so I could "pop up" the moose and raccoon's heads for extra dimension. You can see the multiple layers in this next photo.


I have used the LDRS nested tags dies from the Fancy Rectangles & Layers Die set which fit perfectly on this A2 sized card. For the Inside of this card I used the larger dies from the same die set for a coordinating layered and stitched panel to write on. 

This was such a fun and festive project but this set can be used year round. Make sure to check out the entire North Woods Stamp & Die set by clicking HERE. You won't want to miss seeing the trees which are also included in this set. So much versatility.

Happy Crafting,
Melanie
Wednesday, December 7, 2016

Quick Creation's Kraftin Kimmie "Snowball Fairy"

Hello Friends,


Today I have some holiday Christmas magic for you. "Snowball Fairy" is working her magic on a jar of beautiful baubles that any girl would love to receive on Christmas morning. 
 
 
I have used Kraftin Kimmie's Snowball Fairy Stamp Set along with Kaiserkraft "Christmas Wishes" paper, and We R Memory's Mason Jar Dies. After cutting patterned paper, acetate, and cardstock using the mason jar die I fussy cut out the middle of the jar to create a window for my shiny baubles.


My sweet fairy is all colored will Copic markers. Make sure to check out all the Kraftin Kimmie Stamps that we carry in our online store. 

Thank you for stopping by today. I hope you have a magical holiday season. 

Melanie
Tuesday, December 6, 2016

My Paper Pumpkin ~ Adorable Multi Layered Holiday Cards

Welcome Back,

Today I have a super fun project to share with you. This is the November's Paper Pumpkin mail order kit. Oh my goodness when I opened this kit I was beyond impressed. These monthly little surprise boxes keep getting better and better. I use to want to change up the entire kit but with this kit nothing extra was needed. These are just precious.

Check these out!!! The kit included all the product needed to create 8 cards and even came with matching envelopes as well. Each layer was laser cut for you so all that was needed was stamping for the snow, trees, and sentiment. Then you layer each segment using Stampin' Dimensionals to create amazing texture. There is even glue dots and vellum included in the kit along with sequins and twine. 

Here is a photo of the entire kit

Here is the EXCLUSIVE stamp set included as well. You seriously get EVERYTHING you need to complete the kit including ink AND adhesive!!! 


By far this is my favorite kit... If you are interested in becoming a Paper Pumpkin Subscriber click HERE. Thank you so much for stopping by today. 

Happy Stampin'!

https://www.paperpumpkin.com/en-us/sign-up/?demoid=2149587


Saturday, December 3, 2016

Quick Creations The Greeting Farm Holiday Hop

Hello & Welcome to the Quick Creations Holiday Blog Hop

 We are featuring The Greeting Farm today! We have just a few rules to be eligible for winning prizes:
1) “Like” our Facebook page HERE.
2) Join our Facebook group HERE.
3) Follow the Quick Creations blog HERE
There will be a heading that says “Followers” on the sidebar and a Follow button underneath all current followers.
4) Comment on each stop along the hop including the Quick Creations Blog. 
This is most important--if you don’t do this but everything else you will be disqualified for winning. 
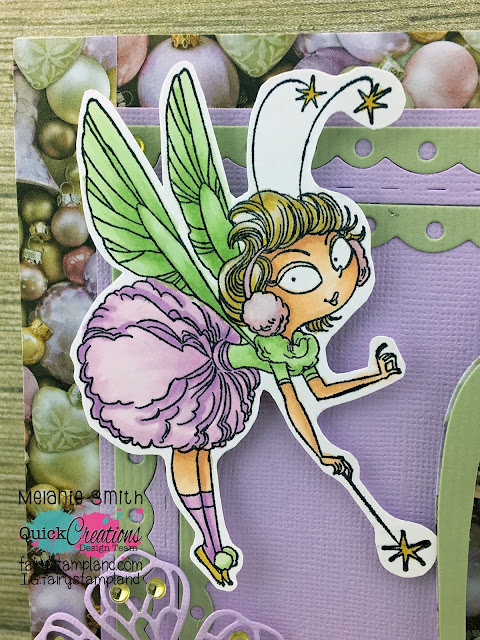
For my project for the HOP today I am using 'Little Fairies" by The Greeting Farm. Everyone knows my love for fairies so when asked to use TGF stamps I decided to use these everyday fairies and make them festive. 


 Blog Hop Lineup... Make sure to stop by all of them and leave some love. 

Leah - http://odetopaper.blogspot.ca/
Kelli - http://stampingwithadream.blogspot.com/
Indah - http://amberlycraft.blogspot.co.id/
Rosemary - http://rosemaryscreations.blogspot.com/
Jess - http://myscrapdiary-jess.blogspot.com/
Jeanette - http://pinkaliciousscrapper.blogspot.com/
Thank you for joining us for the Quick Creations 2016 Holiday Hop feat. The Greeting Farm! Have fun hopping and Good Luck!

Friday, December 2, 2016

Stampin' Up! ~ My Holiday Card Class

Hello Friends,

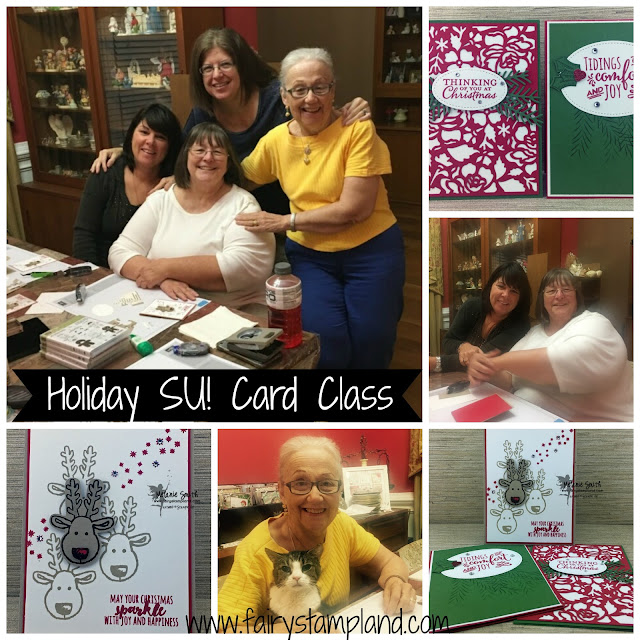
This past Monday was "Card Class" at my house. This was the first of two holiday card making classes I am offering this holiday season. 

As you can see everyone was having such fun, especially my mom since her precious cat decided she wanted to stamp too!

At my home classes we usually create 3 projects in about 2 hours. It is a very laid back and relaxed atmosphere except when the ladies begin laughing because Melanie forgets numerous items needed in class and it is an on going joke as to "How many times will Melanie have to run to and from her craft room?" Luckily my craft room is right off the kitchen so I don't have to go far.

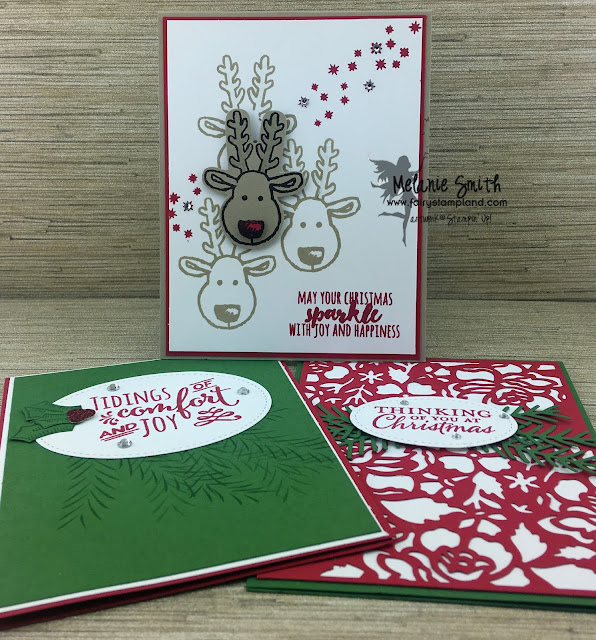
Here are the cards we made in class. We will be having 1 more holiday card making class on Dec. 12th, 2016 if you are local and would like to attend. 


We have used numerous Stampin' Up! Products here. I will post a supply list below for a reference.


Isn't Rudolph Adorable? You cannot see it in the photo but the reindeer's antlers have "Wink of Stella" to give them a "Sparkle" so I chose the sentiment with that in mind. 


The class favorite was, to my surprise, the green card above. It was the simplest card to make but my ladies loved it.  


One last look....This is my amazing mother. She looks forward to card class because she loves when "The Ladies" visit. Mom keeps up as best she can and is known for completely changing the card design but like I always say"Art is in the eye of the beholder, there is no 'right' or 'wrong' way to create.

If you do not currently have a Stampin' Up! demonstrator I would be honored to have you as a customer. Contact me with any questions and thank you so much for stopping by today!

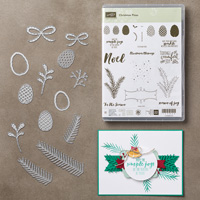
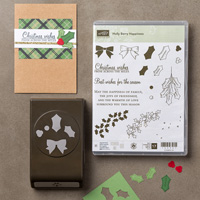
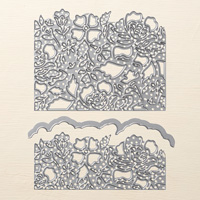
Click on the photos below to be directed to a specific product I have used in this project. CLICK HERE to go directly to my online store.