A whimsical place to play, where paper and ink become one.

Saturday, August 26, 2017

Elizabeth Craft Designs' ~ Falling for Butterflies

Hi There,

Any of you who follow me on a regular basis know my love of "all things with wings". The butterfly is a favorite of mine because of the amazing transformation that it makes. Elizabeth Craft Designs just released this Butterfly stamp & die set. You can see it along with the rest of the new release by visiting the NEW ARRIVALS page of our company blog.


I had fun using the Dotted Spotted Square die set to create this window card.  When you look straight on you do not realize that there is a window and that the colored images are actually inside the card. Looking at this side view below you can better understand what I mean.

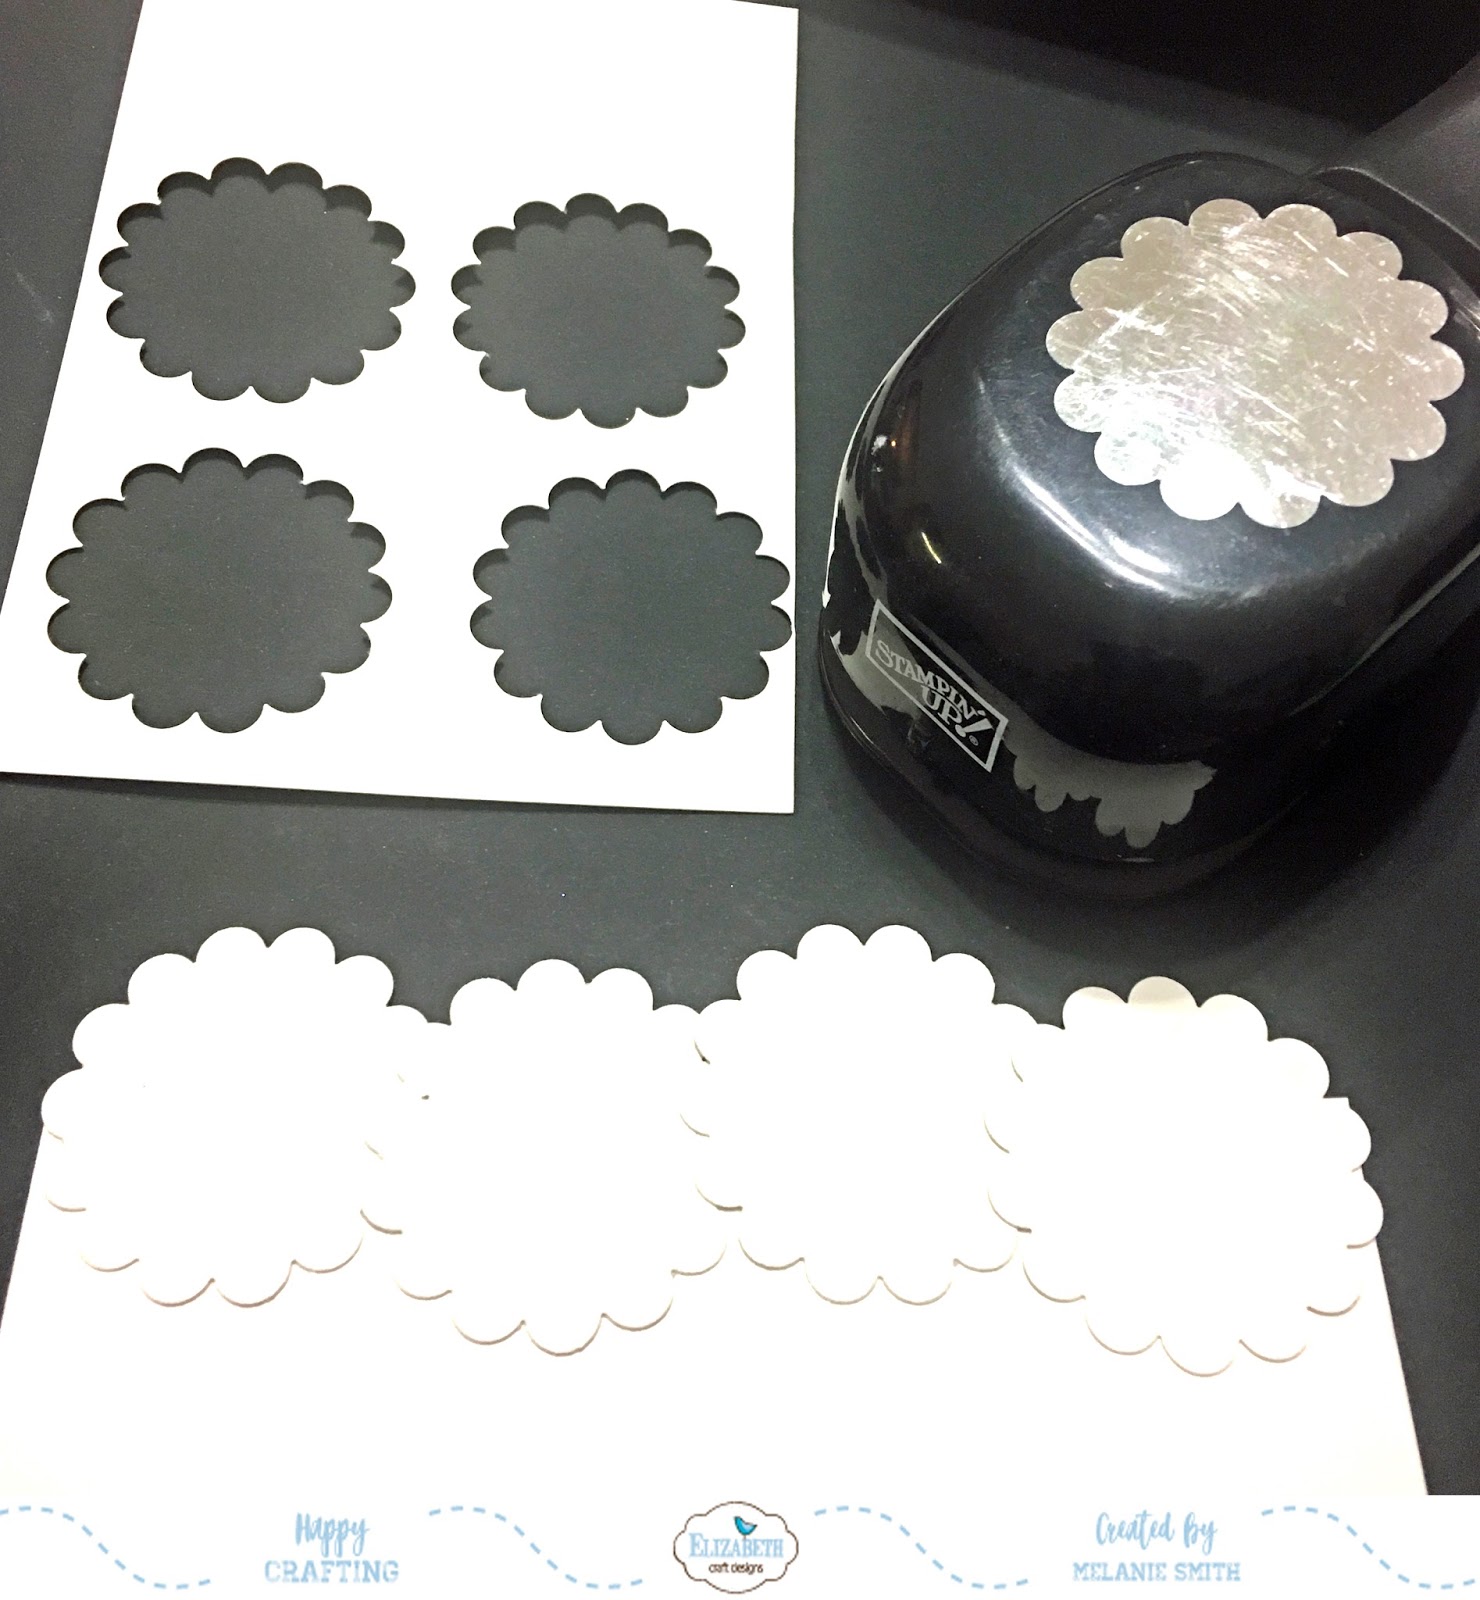
I used the scalloped die to create the window but also used it to create the multi layered inside design.

The Dotted Scalloped Rectangle Set was used for the sentiment that was chosen from the "Dream Sentiments Stamp Set"

I hope you have enjoyed my little bit of craftiness today. Consider following me by email so you never miss a post. Melanie

Friday, August 25, 2017

LDRS Creative ~ Happiness is a Cupcake

Hi Friends,

Most of you know that I personally have pet Hedgehogs so I love LDRS' Candibean Hedgehog stamps. This one I am using today is called "Happiness is a Cupcake".  Aren't they adorable???


I have colored the stamp with Copic Markers in the following colors:

E04, E07, E08, E09, E11, E13, E15, E18, E23, E27, E50, E51, E53, E55
R81, R89, G12, G14, G85, YR01, YR20, YR21, YR23

I used the Little Darlings "Fancy Rectangles and Layers" die set for cutting out the colored image and for the sentiment. 

Have you taken a look at the stunning Polkadoodle Dies that Little Darlings now carry? They are so dainty and full of detail. I have taken the Dainty Doily Border Die and cut it twice. I then cut each of them apart so that it would create a frame around the image. I then encrusted delicate pearls to the die cut itself for such a feminine look.

Have a crafty day,
Melanie

Saturday, August 19, 2017

Elizabeth Crafts ~ New Release!!!

Welcome Back Friends,

Today I want to share with you my first fall card. It is hard to believe Fall/winter is right around the corner. Elizabeth Craft Designs has just released an amazing collection of Fall & Winter/Holiday Stamps, dies, etc etc. If you haven't seen the new items check at the bottom of the post for the links.  It is so hard to believe that fall and winter are just around the corner, but working with our release already has me overjoyed. This has to be the best grouping of holiday offerings I have ever seen.

Aren't these owls as cute as can be??? Oh my goodness I sure did enjoy coloring these stamps, and they have coordinating dies as well!!!! I used two sets of their dies, the Dotted Spotted Rectangles and the Corners 1 set, along with this newly released stamp and die set. See all the NEW ARRIVALS HERE ;-) 

Thank you for stopping by today. Happy Crafting! Melanie

Friday, August 18, 2017

Elizabeth Craft Designs Dragonfly Dreams

Hi Everyone,

Today I have a new project to share with you. I have always loved "things with wings" so the Elizabeth Craft Designs' Dragonfly Dies really are one of my favorite products.


To create this card simply follow the directions below.

  1. From a piece of Whisper Blue Soft Finish card stock, cut a card base measuring 5 1/2" x 8 1/2" score and fold in half.
  2. From a piece of White Soft Finish card stock (4 1/4" x 51/2") die cut from the corners using Flower Lace 1 & Flower Lace 2 dies by ModaScrap. see photo below.
3. Attach Flower Lace die cut pieces to your card base. 

4. Die cut Dragonfly dies from dark blue Soft Finish card stock and using Tim Holtz distress ink and a blending tool ink the edges of each butterfly. See photo below


    5. Using black ink stamp your sentiment.
    6. Finally to add a little flair, add peel off stickers to both the edges as well as for the dragonfly eyes.
    Elizabeth Craft Designs' products used:

    Other Products Used:
    Range Black Ink
    Tim Holtz Distress Ink

    I hope you have enjoyed today's project and it encourages you to get those dies out and play!
    Happy Die Cutting!
    Melanie

    Wednesday, August 16, 2017

    LDRS Creative ~ Time to Sparkle

    Hello There,

    I am here today to share a really special card with you. Earlier this month I shared my first card using Tim Holtz's Distress Crayons and this is the second project I created from my experimental backgrounds made at June's Crop.


    I had a lot of fun coloring this All Dressed Up Stamp called "Time to Sparkle" so that she would match the background. Isn't sassy and sweet?

    For a little flair I used the Darling Square Die Set to add the flourishes and added simple rhinestones to each flower.

    Thank you for stopping in today. I hope you have a crafty day!!!

    Melanie

    Tuesday, August 15, 2017

    Elizabeth Craft Designs Gift Giving Challenge

    Hi There,

    Today over on the Elizabeth Craft Designs' challenge blog we are having a really fun challenge featuring some fun handmade giftables which are perfect for the back to school/holidays.

    I am featuring a little card giftset that I created following a YouTube video by scrimpingmommy, I have no affiliation with this crafter but wanted to give a shout out for the video that inpired this post. You can view it HERE.


    I added a little faux stitching where the giftcard is just for a little added interest.

    I have used some of the ADORABLE designer paper by Elizabeth Craft Designs. Have you seen all the wonderful papers we carry? If not click HERE. The paper I have used in this project is from the "Color of Puppies - Girl" set. For the card fronts I used white Soft Finish card stock and the Dotted Scalloped Squares die set. For the images on each card front, I simply fussy cut out the 4 adorable images from the front of the paper insert/packaging.


    Aren't they stinkin cute??? and the beauty is that I only used the designer paper pack, one set of dies, sissors and glue :-) Easy Peasy!

    I hope you have enjoyed todays post. I look forward to sharing more with you in the future. 

    Melanie. 


    Saturday, August 12, 2017

    Elizabeth Craft Designs' ~ Our First Expo Experience.

    Hi Friends,

    Just popping by today to share with you a few really special photos that were taken in July at the Scrapbook Expo in Duluth Ga. I worked with the owners of Elizabeth Craft Designs, Els & Joep, and the three of us set up the Expo booth together. It took 8 full hours to go from a blank slate to a full booth.

    When I arrived nobody was there yet but the tables and two of these large containers which were unloaded from the Semi Trucks all lined up outside.


     Once Els and Joep arrived they began unveiling the containers and low and behold inside the first container were ULINE boxes so of course I had to take a pic for Randy since he works for the company.


    As the day went on we stocked the racks with all of the beautiful product that we carry. I had a lot of my friends stop by who had never even heard of Elizabeth Crafct Designs and YEP, you guessed it.... They went home with handfuls of their dies. These two pics above here two of the sections I stocked.


    On the last day Randy and I both helped break down the booth. It took the four of us working like a well oiled machine to get everything broken down. It took approximately 3 hours!!! Randy and Joep got along great and boy did we ROCK!!!

    To see all the amazing products we carry simply visit the Elizabeth Craft Designs' website. They have quite a few things reduced currently so mack sure you don't miss out.  Also make sure to check out our You Tube channel each Friday for out 'Technique Friday with Els" 

    I promise you will not be disappointed!!! Happy Creating!
    Melanie


    Monday, August 7, 2017

    Elizabeth Craft Designs ~ New England Stone Wall & Gate

    Hello Friends,

    Today I am excited to share with you this adorable little scene I created using numerous Elizabeth Craft Designs' products.


    To begin with I created a mask with a piece of scrap paper and 4 hand punched scalloped circles.


    Using Tim Holtz Distress Inks along with his sponge applicators use the mask in various angles to create the clouds leaving a little white between each layer.


    Next you will use the dies from the Susan's Garden Country Scapes - New England Stone Wall & Gate. This set comes with three dies. The Gate die was cut from white Soft Finish card stock. The background piece is also die cut from white Soft Finish card stock and then inked with a distressed inks to create a mortar look.

    Using multiple Distress Inks color a piece of white Soft Finish card stock before die cutting your stones. By using multiple colors it makes the final little pieces look like actual stones. Below shows the wall half way completed. Using Elizabeth Craft Designs' Clear Double Sided Adhesive Sheets and ECD's tweezers makes this challenging step a piece of cake.


    The stamps used for this project came from this wonderful stamp and die set called Birch Forest from Elizabeth Craft Designs.  They have been colored with Copic markers and die cut with the coordinating dies, which are sold separately. 


    The stamped and die cut images were popped up using foam tape. This gives it a wonderful texture.

    Elizabeth Craft Designs' Product List:

    White Soft Finish Card Stock
    Susan's Garden New England Stone Wall & Gate
    Krista Schneider's Birch Forest Stamps & Die Sets 
    Clear Double Sided Adhesive Sheets 81/2x11"
    Tweezers 

    Other Supplies Used:

    Tim Holtz Distress Inks
    Tim Holtz Blending tools
    Scallop Punch
    Copic Markers