
Hi Friends,
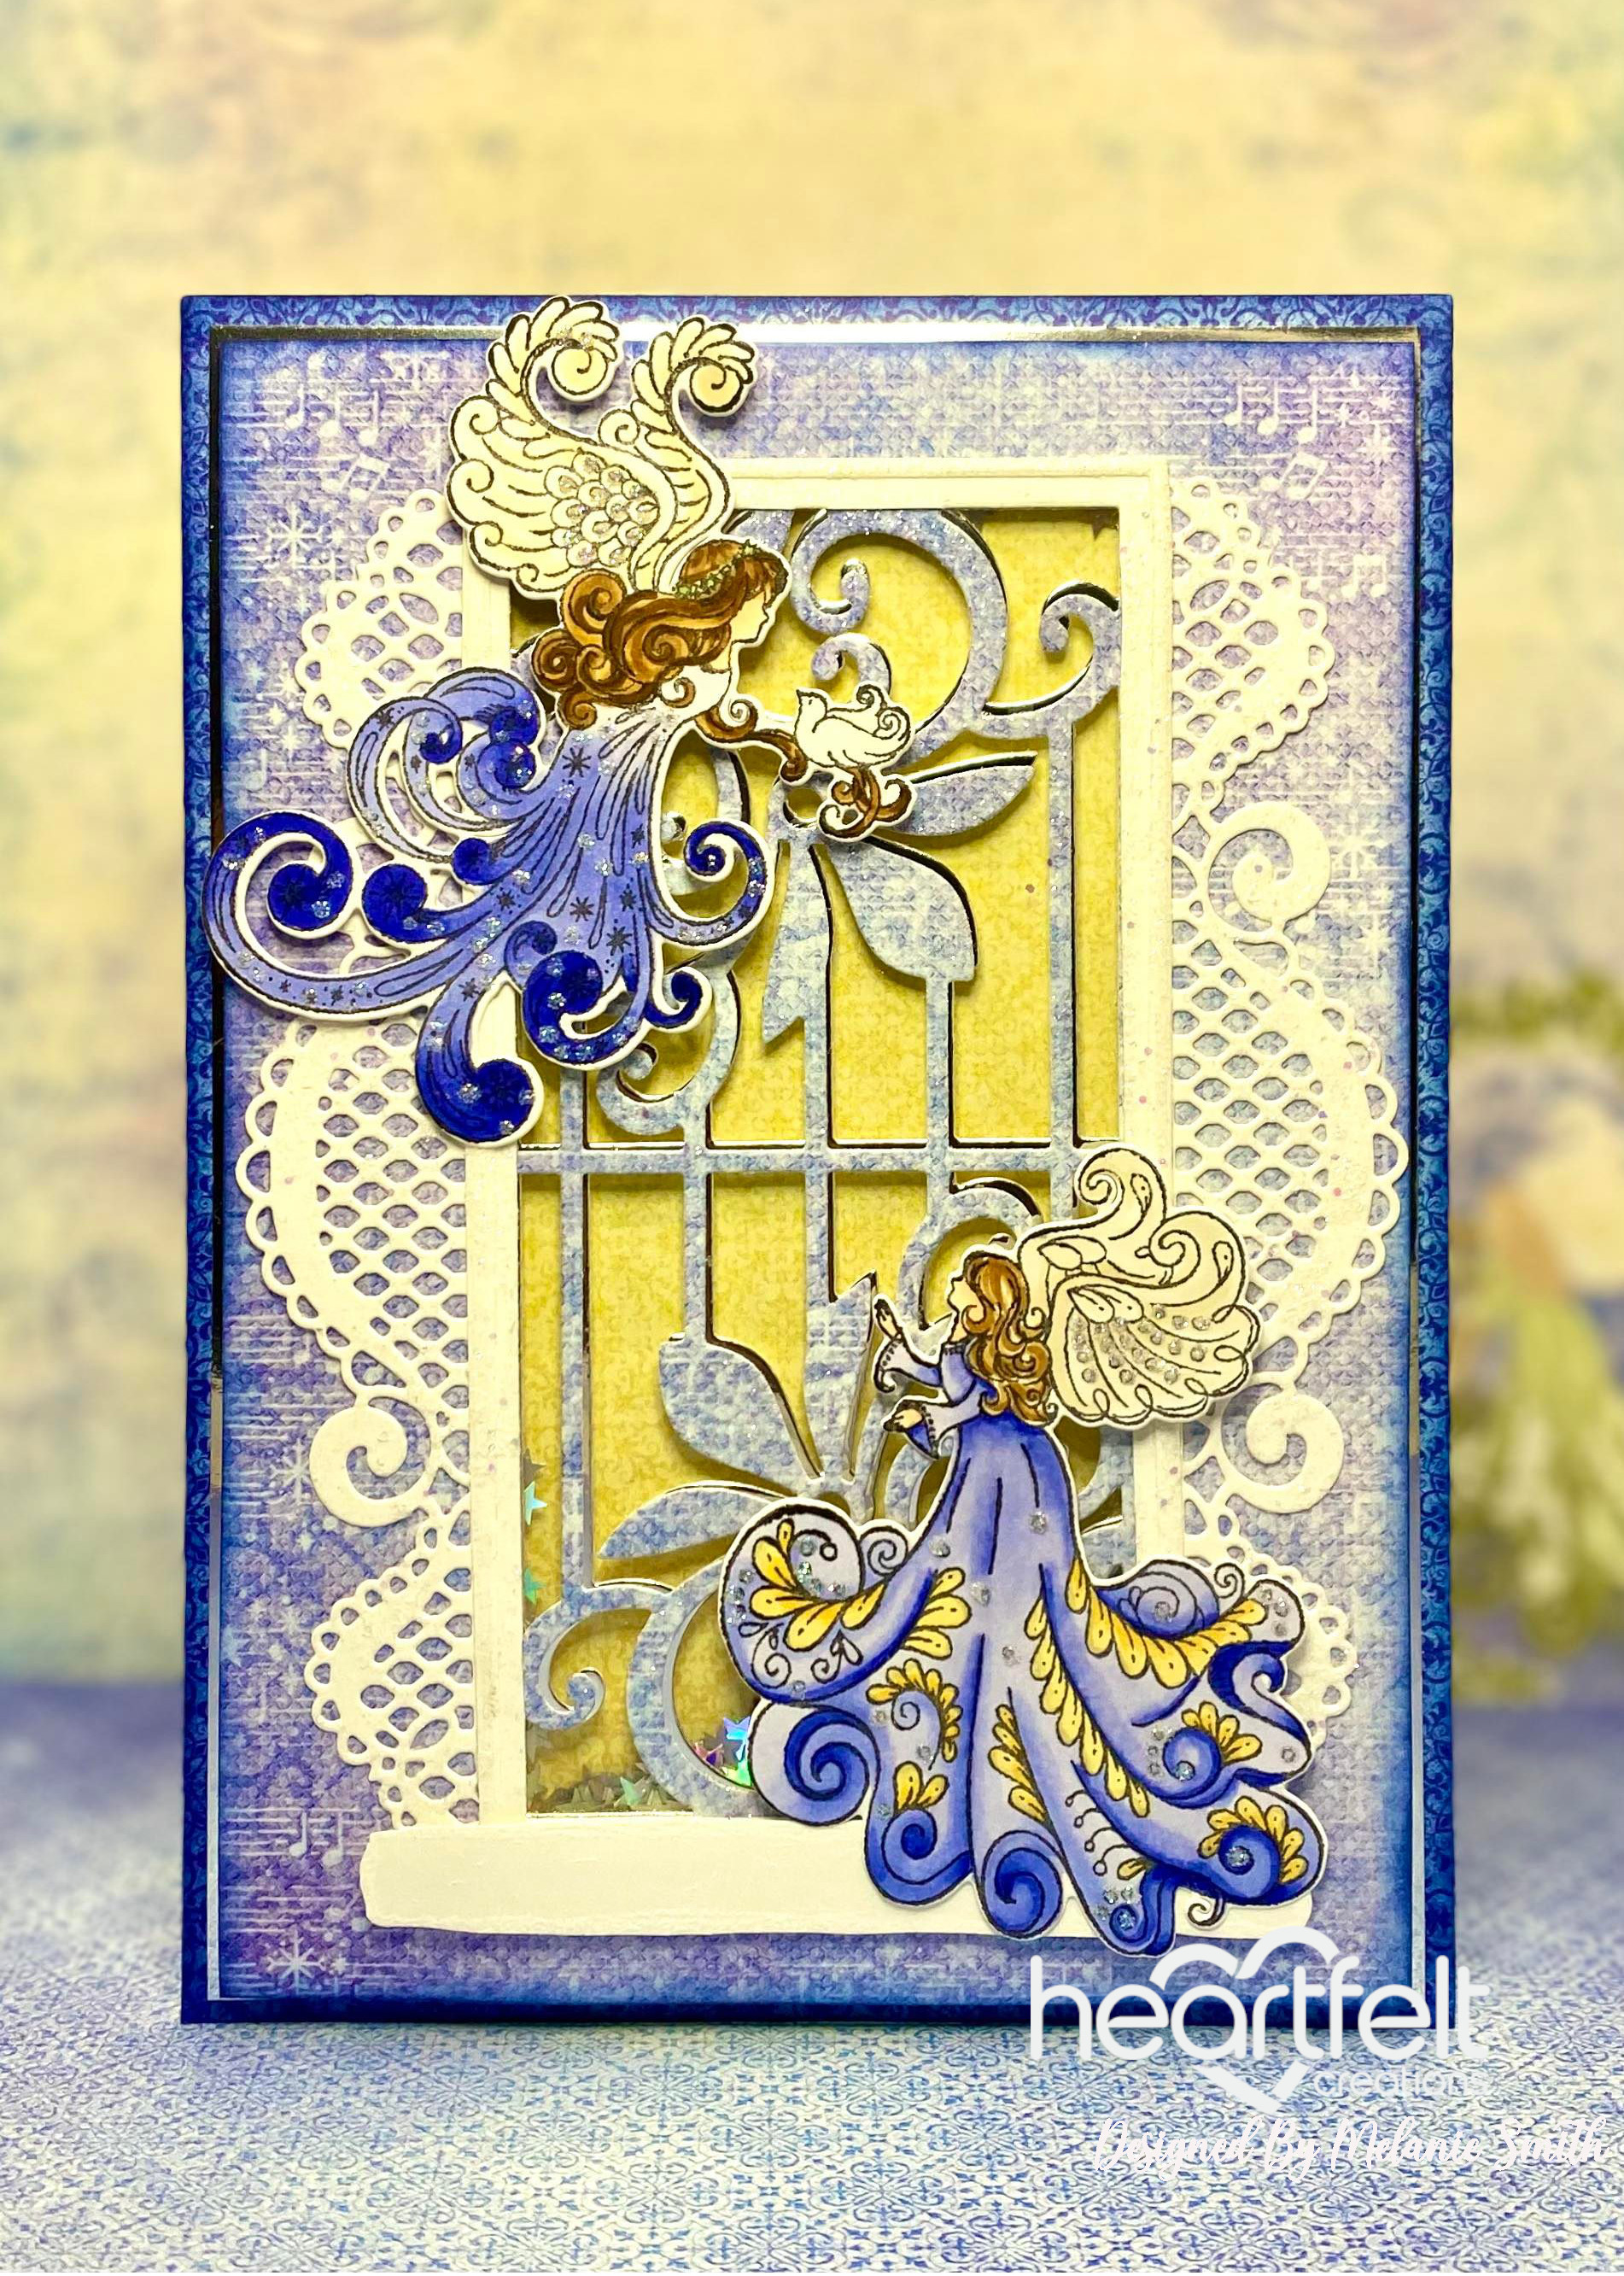
Welcome back to Wednesday's Inspiration post with Heartfelt Creations. I have a really fun card to share with you today. I had a vision when I first saw these Angels and I wanted to create a "window" scene but I wasn't quite sure how to achieve that. So I looked through the current dies by Heartfelt Creations and I decided to mix and match them to create my vision. This is what I came up with to create my sky/window scene where the angels are peeking in the window. I hope you like it!!!!


Instructions:
Cut white card stock to 11 x 7 1/2” and score at 5 1/2” to create a 5 1/2 x 7 1/2” card base. From the HCDP1-2142 Joyous Noel Paper Collection Select a dark blue piece of paper and cut to 5 1/2 x 7 1/2” then using the HCDA1-449 Stack and Store Daubers along with Night Sky Ink sponge around the edges and adhere to the card front. Cut a piece of 5 1/4 x 7 1/4” HCGP1-493 Luxe Silver Cardstock and layer on top of the dark blue paper. Next cut a piece of yellow paper to 4 3/4 x 6 3/4” and attach to the silver layer on the card base and set aside. Now cut a light blue patterned paper from the Joyous Noel Paper Collection to 5 x 7” and sponge in the same manner with Night Sky ink. Using the HCD1-7397 French Gate Die use one of the center panels to “cut in” a window into the center of the light blue piece of paper. Do the same using a piece of Luxe Silver Cardstock that measures 4 x 6 1/2”. Off set the Luxe Silver Cardstock slightly behind the light blue panel so that just a hint of silver shows, and glue it to the back of the light blue piece of paper. Cut a piece of Clear Cardstock measuring 4 x 6 1/2” and glue it securely behind the silver piece that was just adhered to seal up the back side of the window opening. From the same French Gate Die from the previous steps use the large rectangle die along with one inner panel to cut a piece of white cardstock, then trim out the inner decorative design to create a white frame for the window (see photo). Then also using white cardstock cut a thinner outer rectangle, for the window, by using the larger and smaller rectangle dies together without the inner die. These two frame pieces glued together create the window frame. Using HCD1-7211 Decorative Pocket Accents Die cut two pocket dies from white cardstock as shown.
Stamp both angel stamps from HCPC-3996 Joyous Noel Angels Cling Stamp Set onto Copic X-Press It paper and color with Copic markers. Cut with coordinating dies. Using white Versa Color Pigment Ink along with Opaque White Embossing Powder stamp and heat emboss the bottom portion of the HCPC-3908 French Doorway Cling Stamp and fussy cut out just the bottom portion to use as a window ledge.
To assemble the shaker card, using 3D foam tape add a double layer of foam tape to the back of the light blue window panel surrounding the entire window opening making sure not to leave any gaps. Also add the same double layer around the outer edges for extra support when it is attached to the card base in the next step. Use an antistatic tool inside the backside of the shaker window before removing any of the foam tape release paper. This will help with static electricity. Now with the card base laying flat on the work surface with the yellow paper facing up, add the shaker bits to the center of the yellow paper. Next remove the release papers from the 3D foam tape on the back of the blue window piece and add a little Dries Clear Glue to each of the foam pieces, then glue the window straight down onto the card base with the light blue window facing up trapping the shaker bits inside.
To finish the window glue the two window frames together and dab with Dries Clear Glue using a Hydra Sponge, then sprinkle with Rajni Chawla’s Crystal Clear Glitter. Do the same technique with glittering the Decorative Pocket Accent Dies after trimming off the actual pocket strip along the flat edge. Glue these around the window as seen in the photos. Using foam dots attach the windowsill along the bottom to complete the window. Each of the angels have been glittered using Dries Clear Glue applied directly to the images with a metal applicator tip, then sprinkled with Ultrafine Transparent Glitter. The angels are then adhered with Dries Clear Glue and foam dots to complete the project.
I hope you enjoyed that as much as I enjoyed creating it for each of you! Check out my personal project in the Heartfelt Creations Gallery to find out what products I used for this project.
Also, please be sure to visit the Heartfelt Creations Blog to see all of the gorgeous projects created by the other amazing design team members.

No comments:
Post a Comment