
Welcome Back Friends,
For this week's Wednesday Inspiration I am sharing my second card featuring the Hollyhock Garden Collection by Heartfelt Creations. I have created a non traditional vellum flower here by shaping the flower by hand using the Grooved Golf Tools rather than the shaping mold. Lets take a look at my design...


Instructions:
Cut a piece of 6 x 12” cardstock from the HCPP1-475 Deluxe Flower Shaping Paper and score in half to create a 6 x 6” card base. Next cut a piece of 6” x 6” pink paper from sheet 12B of the HCDP1-2143 Hollyhock Garden Paper Collection and glue to the card front. From sheet 11A cut a piece of green and pink patterned paper to 5 3/4 x 5 3/4” and glue to the card front. Next using the largest die from the HCD1-7370 Simply Elegant Centerpiece Die, cut a piece of the same pink paper from sheet 12B, then using the large decorative die from that set cut 1x using white cardstock and 1x using HCGP1-493 Lux Silver Cardstock. Glue these together, slightly offsetting the silver behind the white, and glue to the pink background die. Glue the piece just created to the card front. Using the small two center dies from this same die set cut the background die from Sheet 11B (yellow), and then the center decorative die 1x from white card and 1x from Luxe Silver Cardstock layering them just like the larger medallion die. Attach this center medallion to the center of the card front with 3D foam tape, popping it up for added dimension.
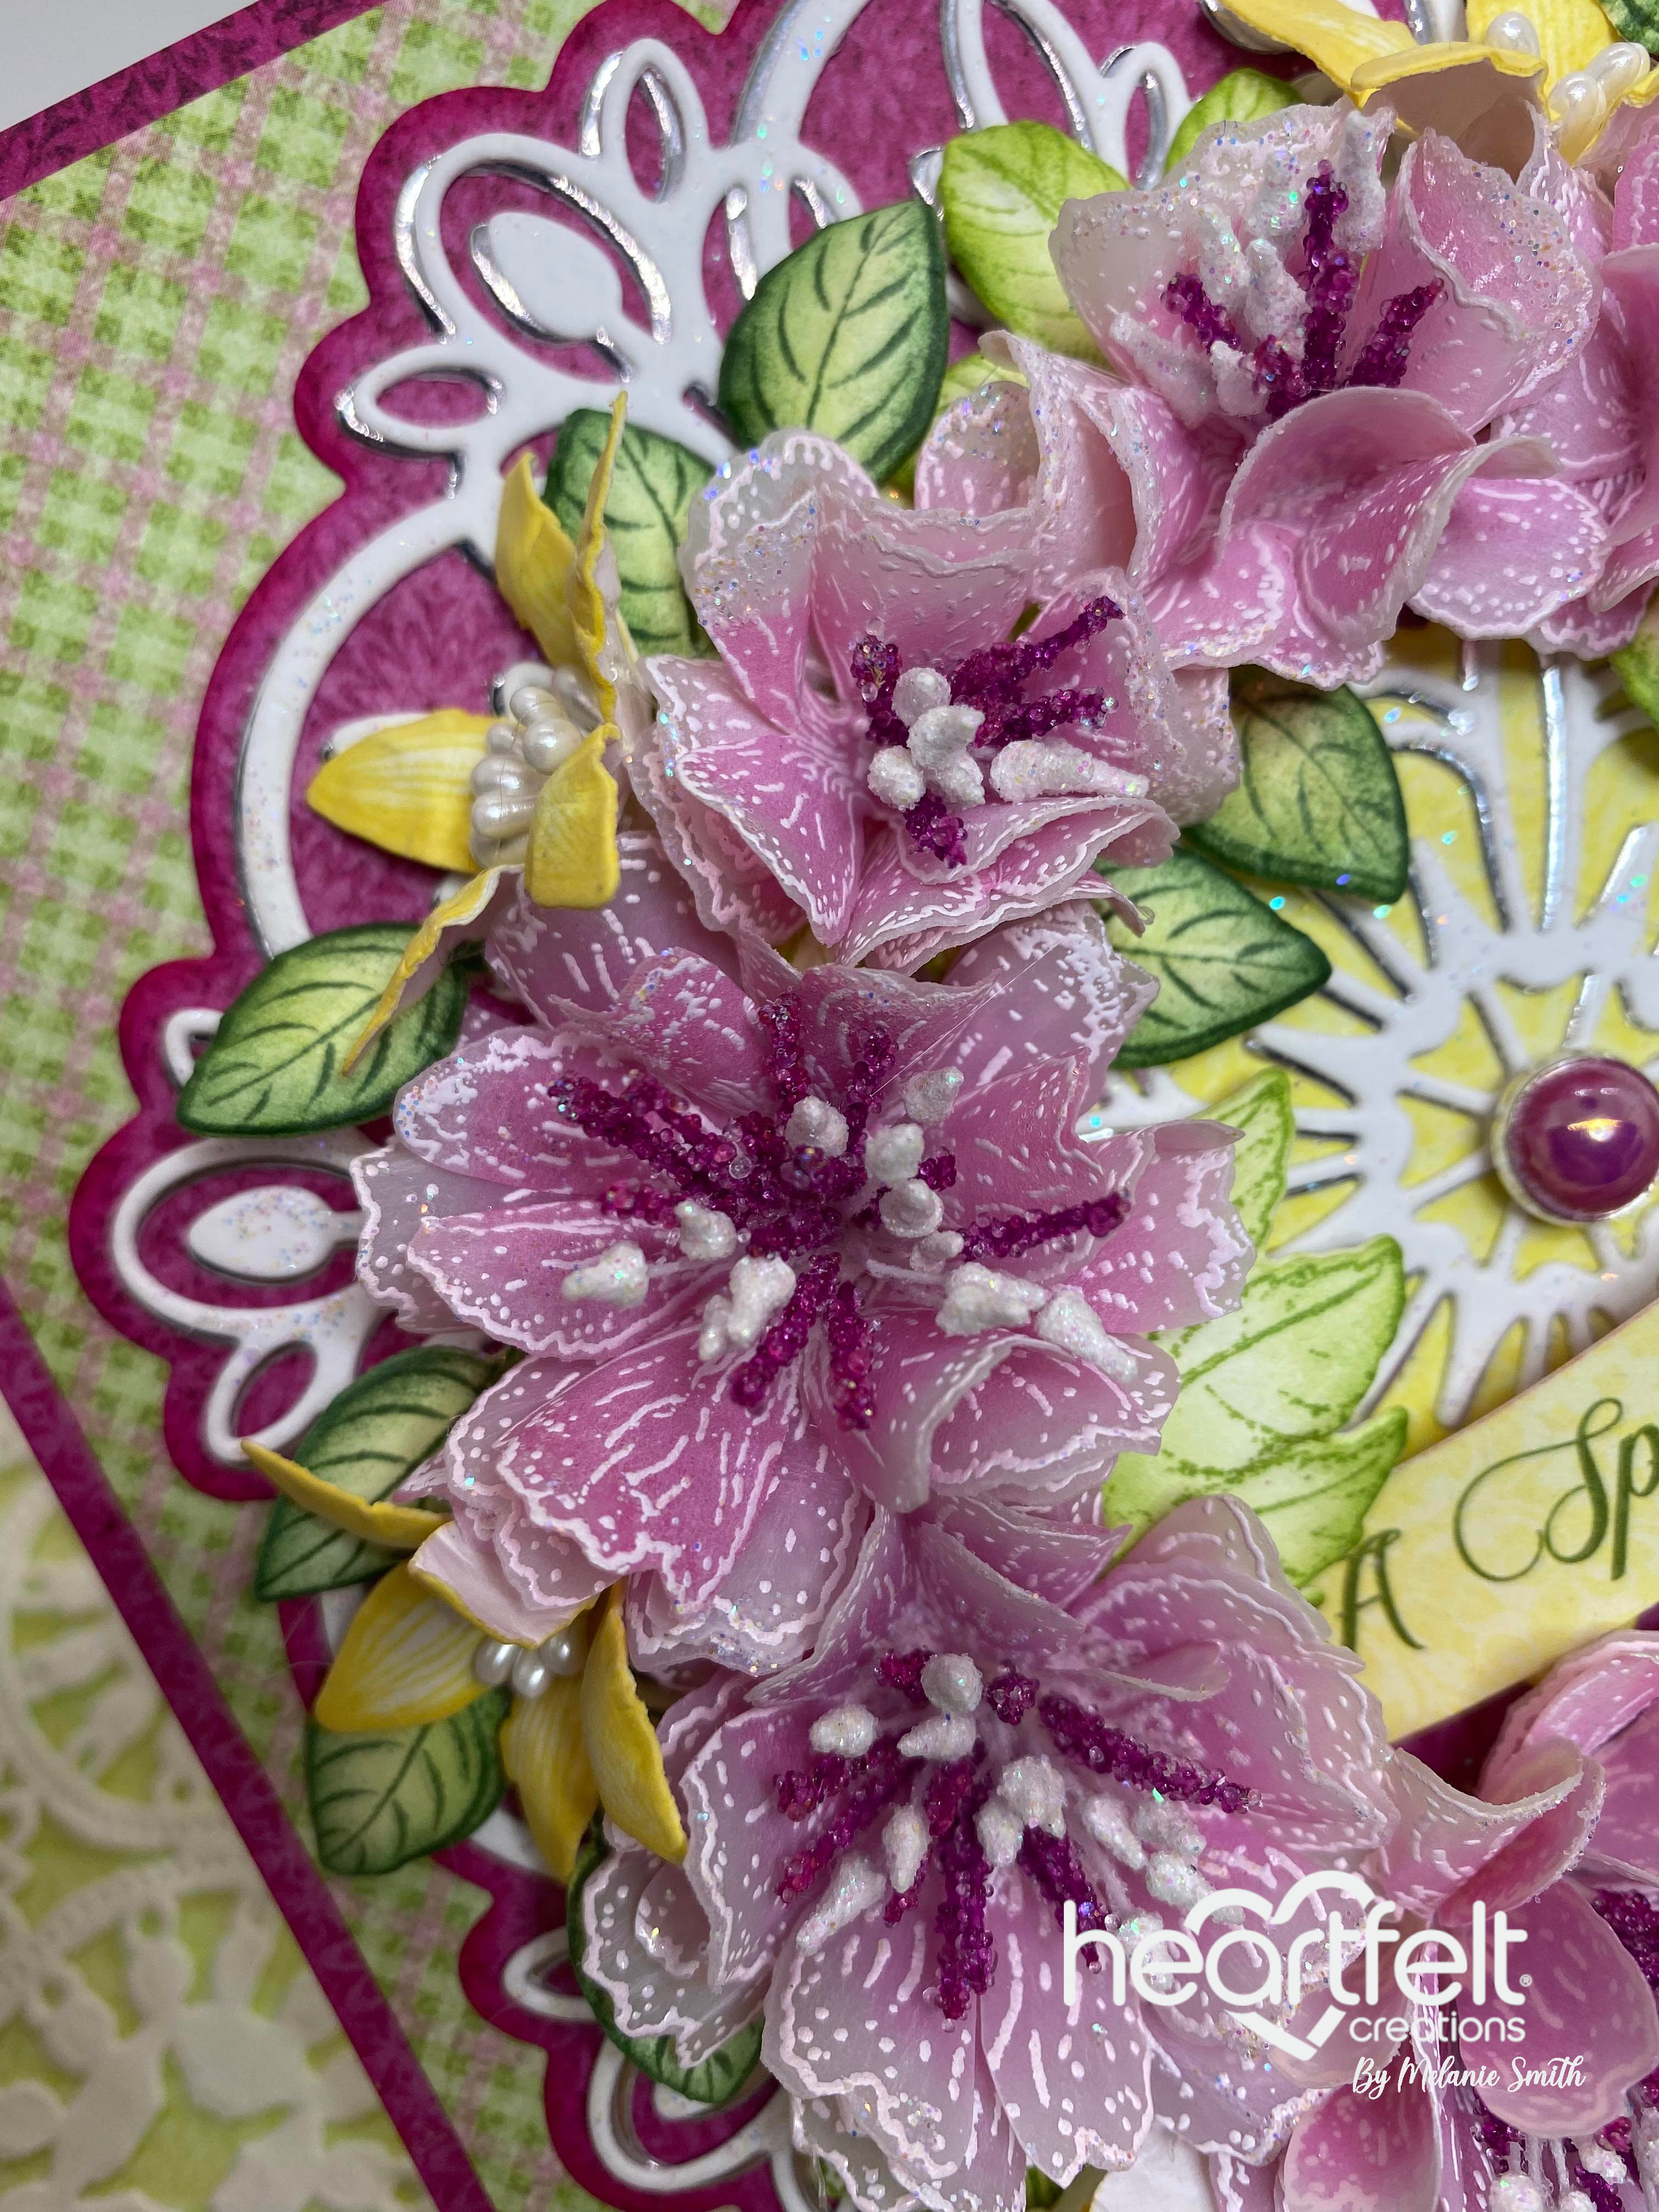
Using the HCPC-3999 Hollyhock Petals and Leaves Cling Stamp Set, Stamp the large hollyhock flowers 4x and the medium hollyhock flowers 3x in Versacolor White Pigment Ink onto Rajni Chawla’s Vellum. Make sure to use an anti-static tool before stamping. Once stamped, sprinkle with white embossing powder and heat emboss. Also from this same stamp set stamp the leaves 4x in Leaf Green Archival ink onto white cardstock. Also using Leaf Green, stamp the large leafy stem 1x onto white cardstock using the HCPC-31000 Hollyhock Stems and Blooms Cling Stamp Set. Next Stamp the yellow flowers by stamping the calyx stamp from the HCPC-3980 Sweet Pea Cling Stamp Set in Chrome Yellow Archival ink. Lastly from the HCPC-3966 Autumn Wreath Accents Cling Stamp Set stamp the small leaf 4x in Olive Archival ink. Cut all stamped images with their coordinating dies.
Using HCDA2-450 Stack and Store Daubers color flowers and leaves in the following ways. For the Hollyhocks use a mixture of pink Distress Oxide inks onto the front sides of your images. Top Tip: Wipe any excess ink off the vellum with a damp cloth after the ink has had a chance to sit for a few minutes. This will allow for the white heat embossing to be more brilliant. Once colored hand shape with Grooved Golf tools and glue together 3 layers then add both HCS1-460 Bridal Bouquet Stamens and HCS1-459-1 Rock Candy Stamens to the centers with a glue gun. For added sparkle dab on some Dries Clear glue using a Hydra Sponge and sprinkle with Crystal Ultrafine Transparent Glitter. Next color the yellow flowers with Sunflower Archival ink and shape through the HCFB1-5010 3D Sweet Pea Shaping Mold before adding the HCS1-457-1 Pastel Pearl Small Stamens in the centers of each flower. For the Hollyhock leaves color with Vivid Chartreuse Archival inks and for the Autumn Wreath leaves color with both Olive and Leaf Green Archival Inks. Both styles of leaves can be shaped easily using the HCST1-401 Deluxe Flower Shaping Kit stylus and shaping mat by giving a little extra dimension from the back.
From sheet 3A of the Hollyhock Garden Paper Collection choose a sentiment strip to add to the card front. Cut a flag out of one end and attach to the card as shown. To finish the card arrange the flowers in a circular design using the die as a guide. When adding the leaves rip off leaves as needed from the leafy stem for the larger flowers. Glue flowers and leaves with a glue gun. Add a coordinating center gem to finalize the project. Decorate inside of card as desired.
Please visit my personal project in the Heartfelt Creations Gallery to find out what products I used for this project.
Also, please be sure to visit the Heartfelt Creations Blog to see all of the gorgeous projects created by the other amazing design team members.

Wow, this is gorgeous my friend! I love your beautiful flowers!
ReplyDeleteThank you so much Jan! It was my first time using Oxides on vellum. They really made them vibrant!
ReplyDelete